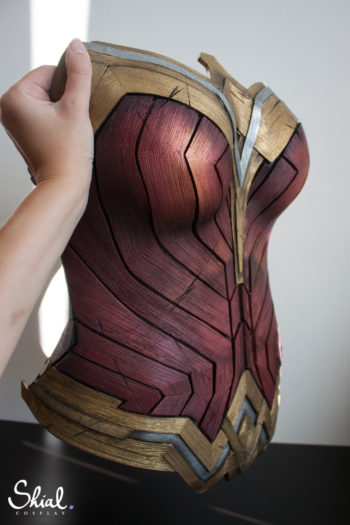
Wonder Woman Corset tutorial
So I decided I will write up the whole way how I made my corset for the costume. It was a path full of errors and try outs, so take this more as an possible inspiration more than a "step by step" manual. Sadly, I didn't find any pictures from the absolutey beginning, but will try to explain it in the words 🙂 I hope you will enjoy the tutorial!
1. The base
The base of the corset is made from 5mm eva foam. I started with 2mm, but sadly, it didn't turned out as I expected, was too weak and I was afraid the seams will tear during wearing it. The pattern for it is the basic corset sewing pattern I have found on the internet. My friend helped ducktape me and drew the pattern directly on me. I then used the pattern pieces from the ducktape and traced them on the foam. The boobiecups are made from black worbla, which I shaped on the polystyrene ball and then glued on the foam base.
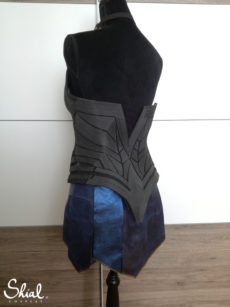
It is important to say that at first, I left the corset opened right in the back. I was figuring out the zipping for a REALLY long time. I wanted to make the back as most as screen accurate as I can, but there was no way to also hide a proper zipping or lacing because of the cut out V and all the decoration. I also thought about adding a zipper on the side, as a lot cosplayers already did. But what bothered me was the zipper would not copy the line, which she has on her side in the curve it is and would be straight. I tried to find other Wonder Woman cosplayers which had different zipping and asked around. One of the best WW cosplayers - HarBeastie, was so kind that she showed me how she made her amazing zipping, which you cant see on the photos of the costume at all and I took a great inspiration from that. Thank you so much one more time!
2. Details
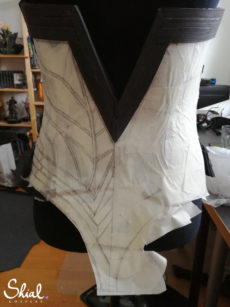
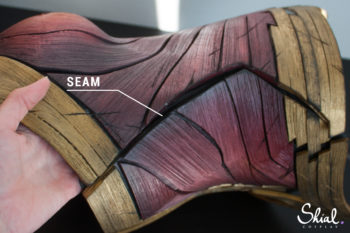
So it was decided - the zipping will be on the side, right in the side curved line. I glued the whole corset together, taped it with paper ducktape and another patterning could begin!
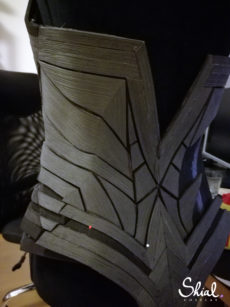
I drew the geometric pattern on the corset, by the photos and pictures from the movie or costume exhibition I have found on the internet. When I was sure about the look, I cut out the longer ends of the corset to match the edges I drew on the pattern. After that, I cut the corset in half by the curve on the side. Then I put the base aside, cut out the pieces I drew previously on the ducktape and started cutting them out from the 5mm foam.
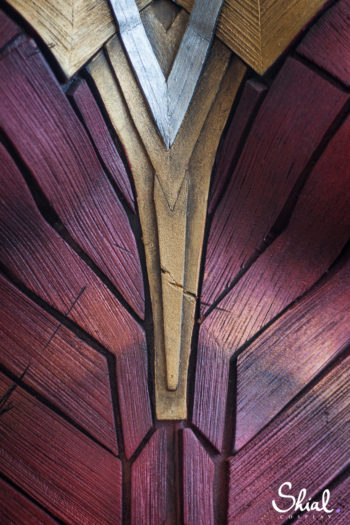
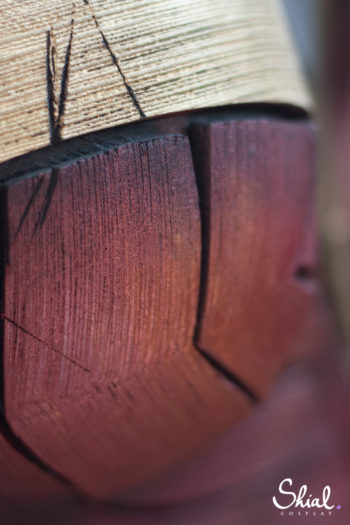
A lot of people asked me about the pattern on the pieces. It is much more simple than you expect! But also really time consuming. Just take dull scalpel knife (you can take sharper one also, but be careful not to cut through!), metal ruler and go from one side to another, one by one. Yes, I watched a lot of TV shows during doing that to whole costume 😀
One by one, I pinned the pieces on the corset, to see if it all fits together and adjusted where it didn't. If you will use pins, be careful! The pin will leave a tiny hole in the foam, so watch out for it. Also, don't forget to count with the thickness of the foam when patterning the top details, otherwise it can happen that the pieces wont have enough space around them. I kinda forgot about that and had to adjust a lot of the details, so make sure you wont be dumb as me, you will spare a lot of your nerves! 😀 When I saw that everything is okay next to each other, I started to glue the pieces on the base. That is a really satisfying part, seeing it all coming together! Also, no one is perfect and there can be situation where you discover it just wont fit as you planned or measured. Be ready to cut or adjust the pattern a bit more just to fit everything in. Geometry by hand is a b*tch. 😀
Tadaah, you are now a proud owner of the Wonder Woman corset! Sort of. But we are not finished yet! Now the zipping!
3. Zipping and painting
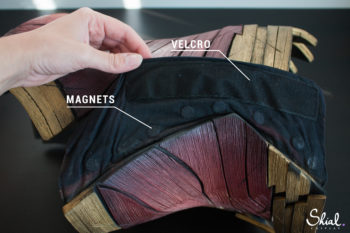
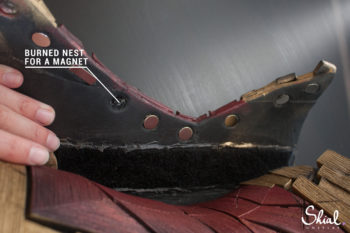
The basic holder of all this thing is a big piece of velcro. I glued one side of the velcro on the inside of the corset, for the second, I sewed a little piece of fabric together, like small pocket - one open side. Then sewed the opposite side of the velcro on its end, glued the fabric on the inside of the corset. Now it should hold nicely on you! But it is kinda tough to zip yourself inside AND align the curved opening nicely together... so I added magnets inside of the corset on the one side, and sewed another magnets into the fabric pocket with the velcro. I put them along side the curve, so they help me position the edges of the opening and help hold the tension of the corset. I have to say, it is still sometimes tricky to get into the corset on the first try, but it holds really nicely then and it is almost invisible (many thanks to HarBeastie again)!
So, does the corset fit you nicely? Are you happy with the pattern on it? Great! Now just sand edges a bit, so it is nice and clean and we are ready to paint!
I primed the whole thing with few coats of plasti dip. The corset will move a lot with my body and I need to breathe, so it have to stay a bit moveable, even if it means it can be damaged a bit. Breathing is more important than a bit of cracked paint!
I bought gold and more dark red/wine spray and colored the black base. For adding more shadows into the color, I actually used airbrush for the first time, but I did most of it still by hand. I used a bit of gold paint to bring out some parts and also bought copper rub and buff color (or at least it looks like it is called like that in english - in Czech, it is called patina wax) and used it on the corset to give it more metallic shine. And if you want some damage cuts in your corset, then I recommend burning/engraving tool, which does that very easily! 🙂
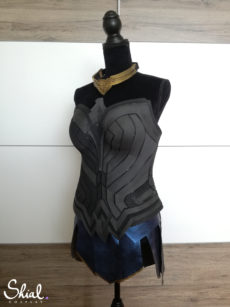
I hope the tutorial helped you in your way to become Wonder Woman and enjoy few photos of the finished corset itself! <3


